Project overview
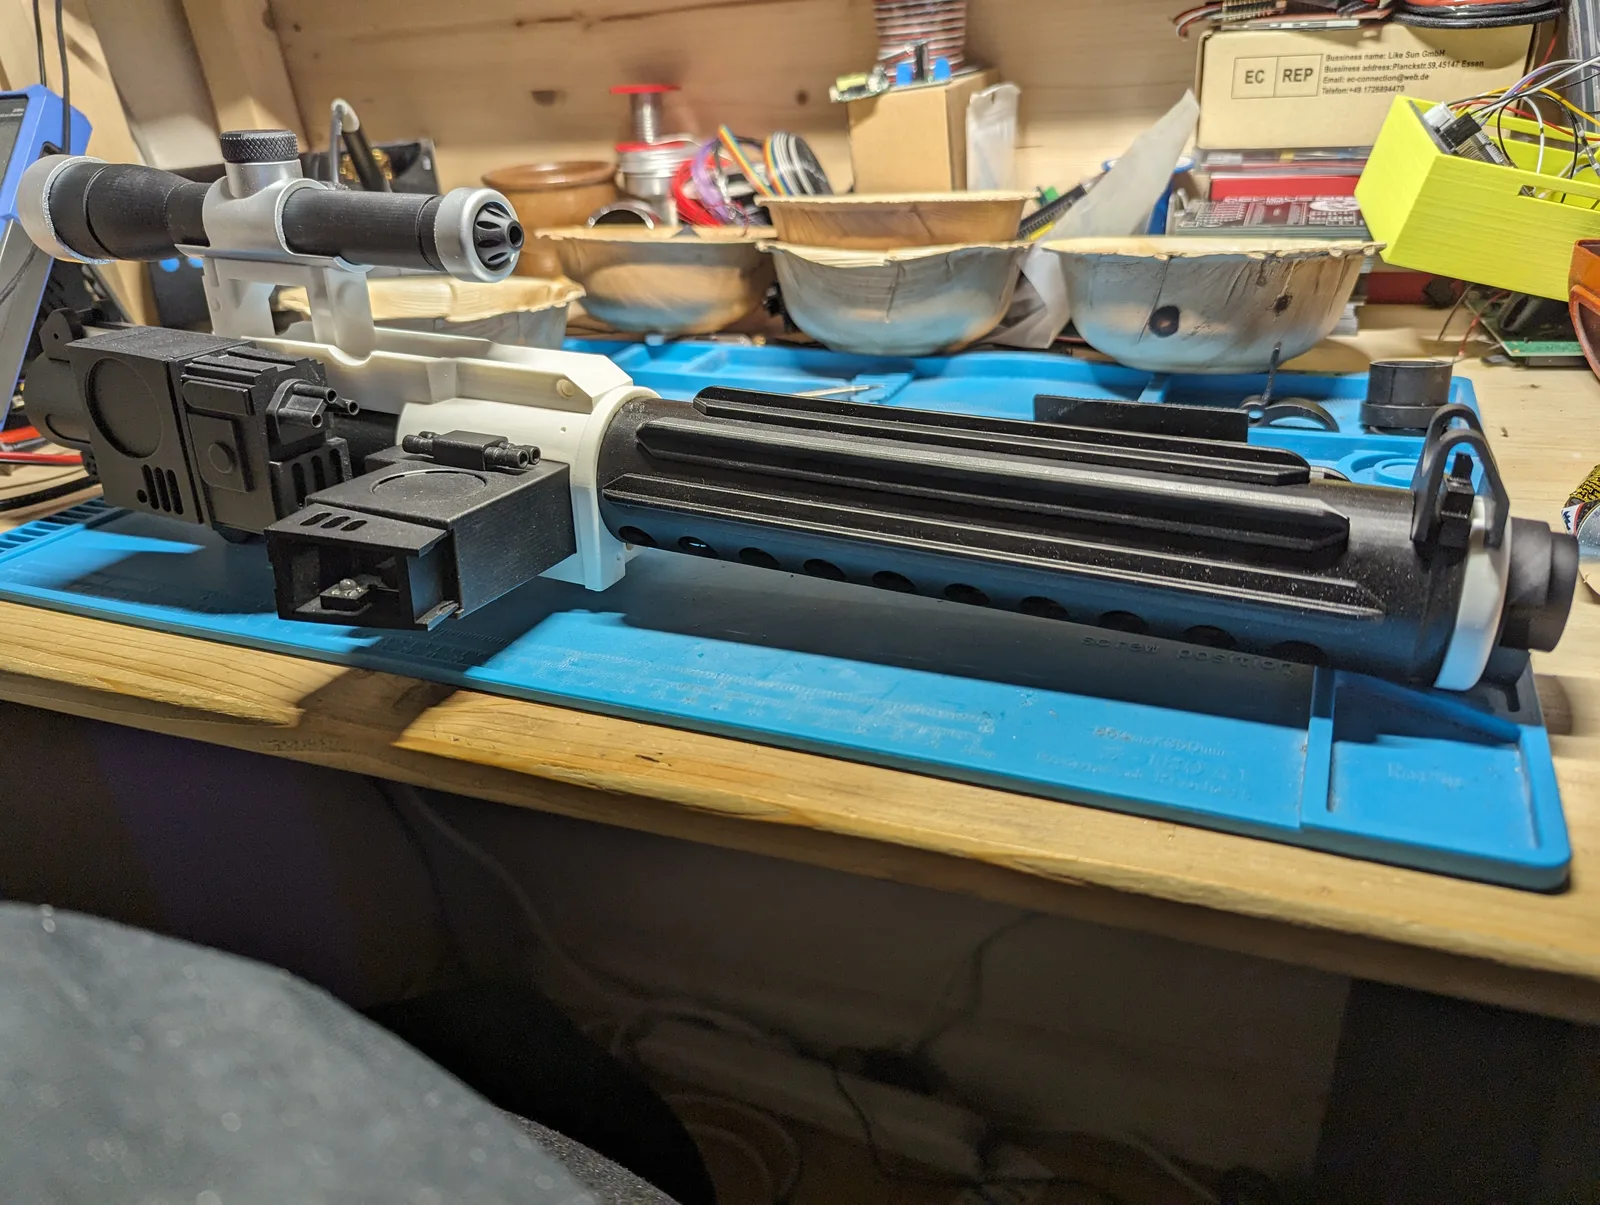
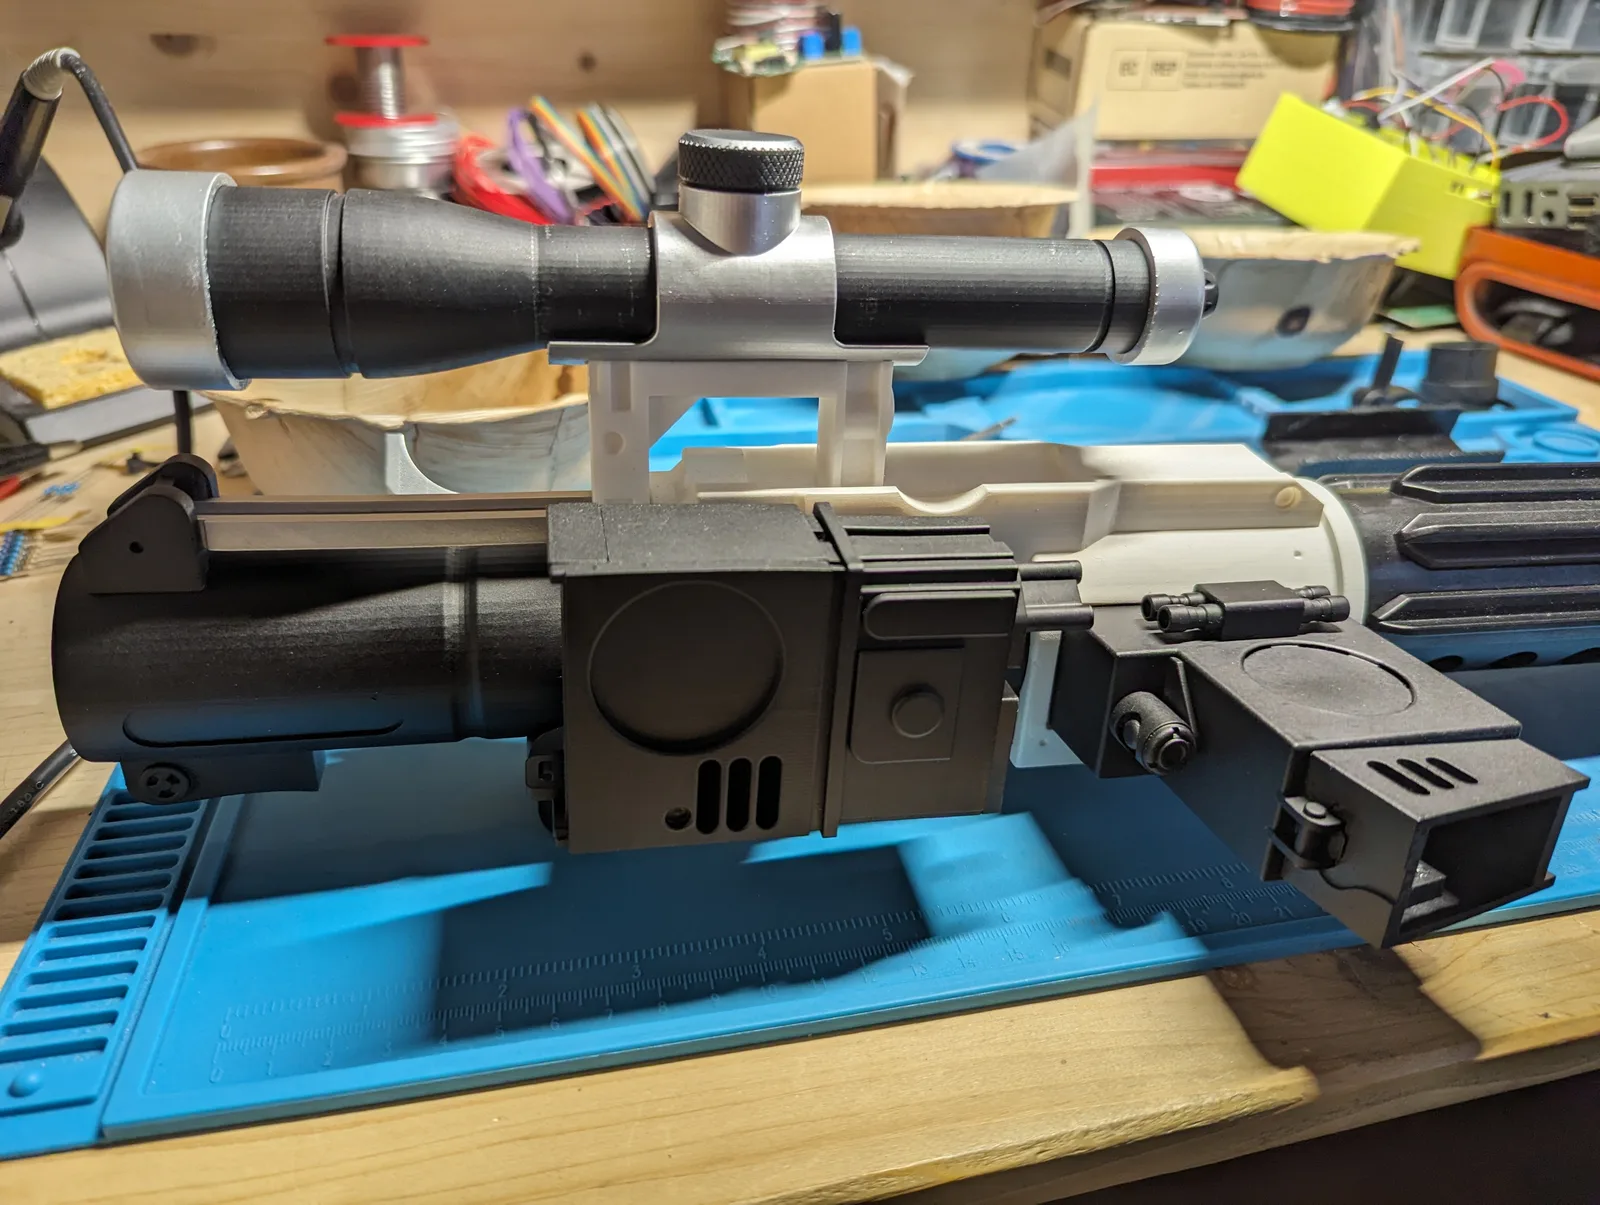
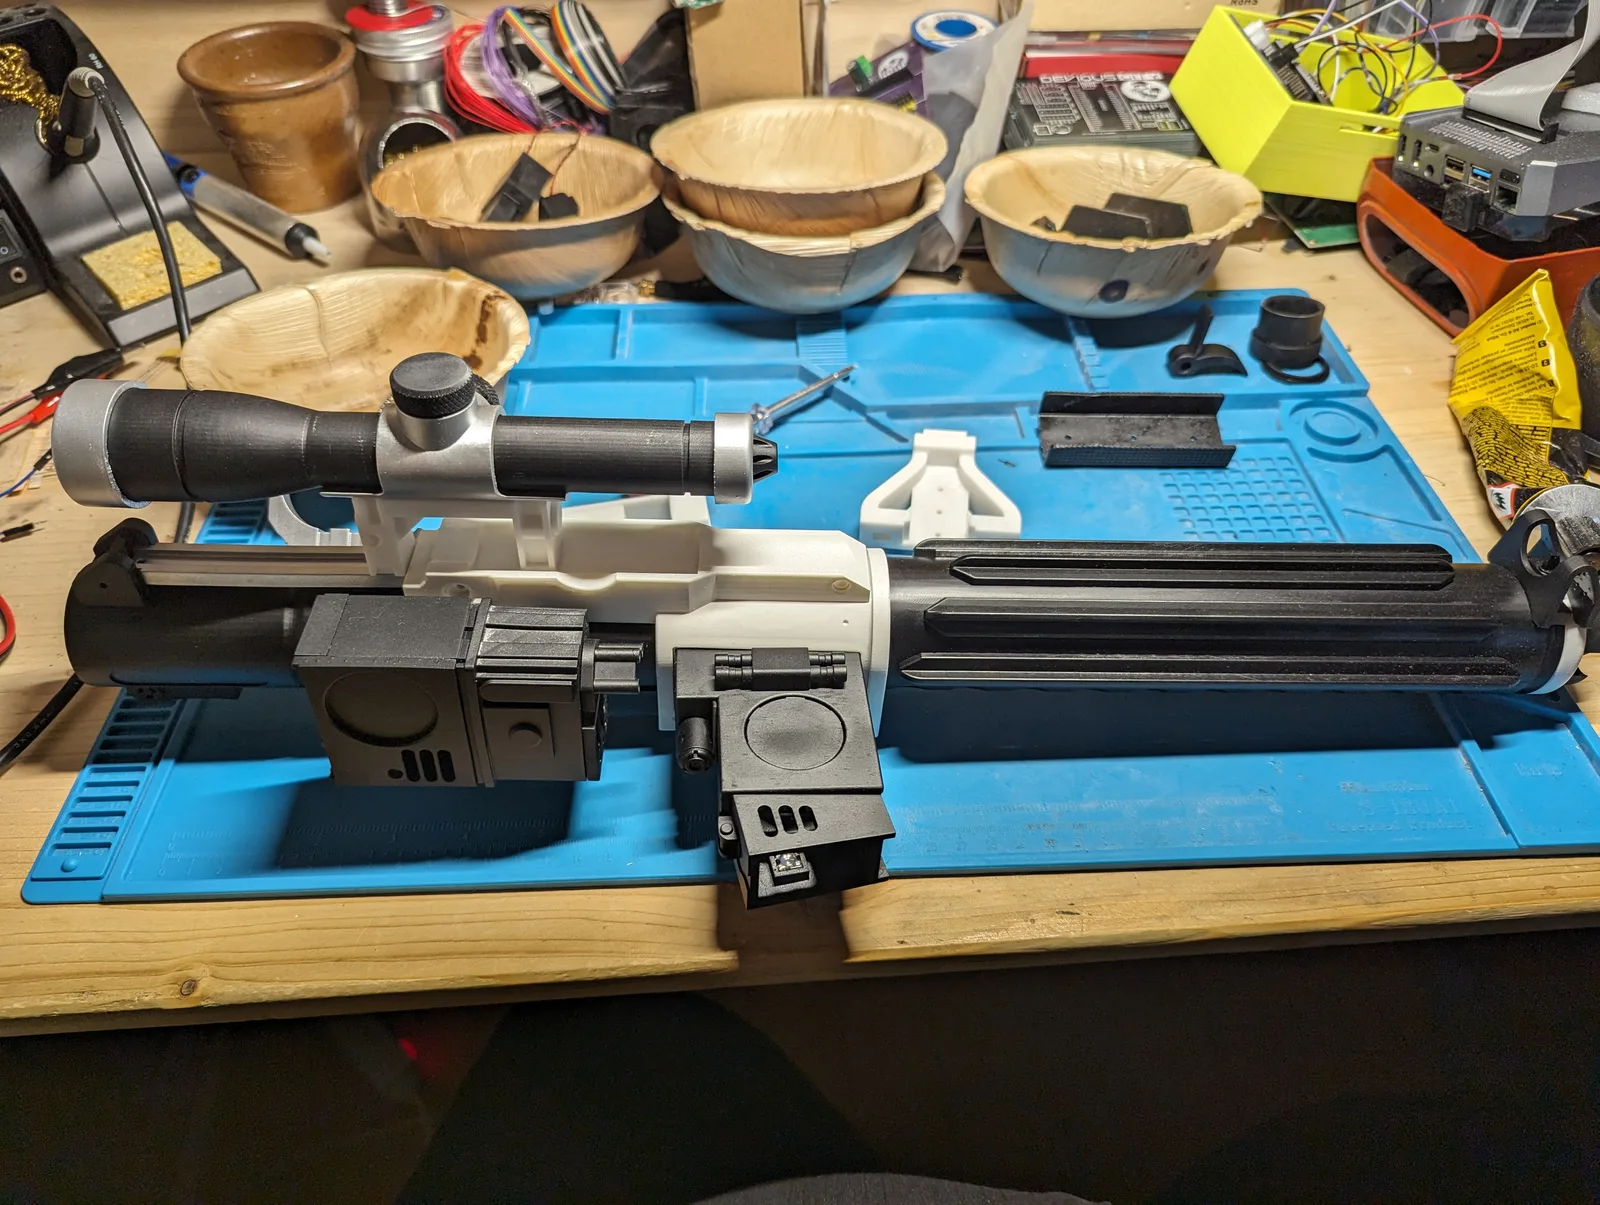
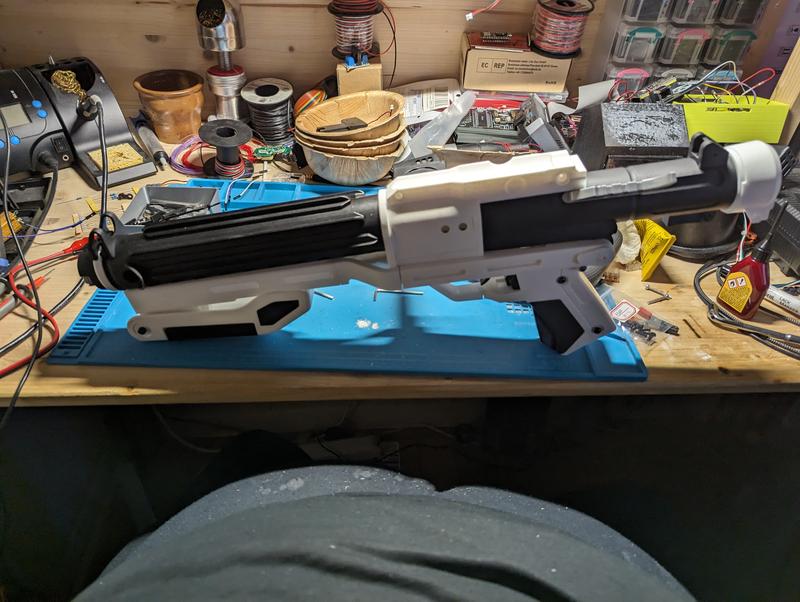
The F-11D Blaster is a resin-printed replica of the First Order blaster from the Star Wars films, built around a set of purchased STL files with electronics designed entirely from scratch. The printed parts, the sound, the barrel lighting and the ammo counter all come together in a prop that runs standalone from an internal battery.
The STL files were bought from Proptronix and are their intellectual property. They are not part of this project and are not offered here — anyone wanting to build the same prop buys the files directly from the designer. What is published here is the part that was built from nothing: the circuit board, the wiring and the firmware. At the time of the build the vendor’s own electronics kit could only be ordered within the UK, which is why the electronics were developed independently. A kit is available more widely today.
The prop was originally completed with every electronic function working, including a tactical flashlight and a red dot laser sight. Both were subsequently removed to keep the prop compliant with German weapons law, which places restrictions on laser aiming devices and on lighting attached to objects of this kind. The parts stay in the parts list and in the circuit design because the design supports them, but they are not fitted to the finished piece.
Everything created for this project — the board design, the wiring and the firmware — is published under the PolyForm Noncommercial License. It has no commercial background and is not for sale. Star Wars, the F-11D and all associated names and designs are the property of Lucasfilm and The Walt Disney Company; this is a fan-made prop and none of those elements are covered by the project licence.
Electronics and control
The main board is built around an Arduino Pro Mini running at 5 V, with a DFPlayer Mini handling all audio playback into a single speaker. Rather than soldering the peripherals directly, every function leaves the board through its own JST connector, which is what makes the prop serviceable once it is screwed together: seven 2-pin PH leads for the trigger, weapon select, reload, scope power, scope button, flashlight power and flashlight button; five 1.25 mm leads for the speaker, both barrel LED strips and laser power; a 4-pin lead for the ammo counter display; and two XH connectors for battery and power input.
Lighting is handled by two 22-LED WS2812B strips inside the barrel plus a single WS2812B as the muzzle flash, so the firing effect can run as an animation rather than a simple on/off pulse. Two red piranha LEDs light the Hengstler counter and the magazine. Power comes from an internal 18650 cell charged through a TP4056 board, with a mini slide switch as the master cut-off. The step up to the 5 V rail is not on the blaster PCB: it sits on a separate MT3608-based board that gets reused across several projects. Keeping the power section off the project-specific board means a proven supply goes into every new build instead of being laid out again each time.
The scope is a self-contained second system. It runs on a DFRobot Beetle with its own 0.49 inch OLED module and its own two switches, connected to the blaster only by a 2-pin power lead. Keeping it electrically separate meant the scope could be developed and debugged as a unit, and it can be taken off the rail without opening the blaster.
Mechanical construction
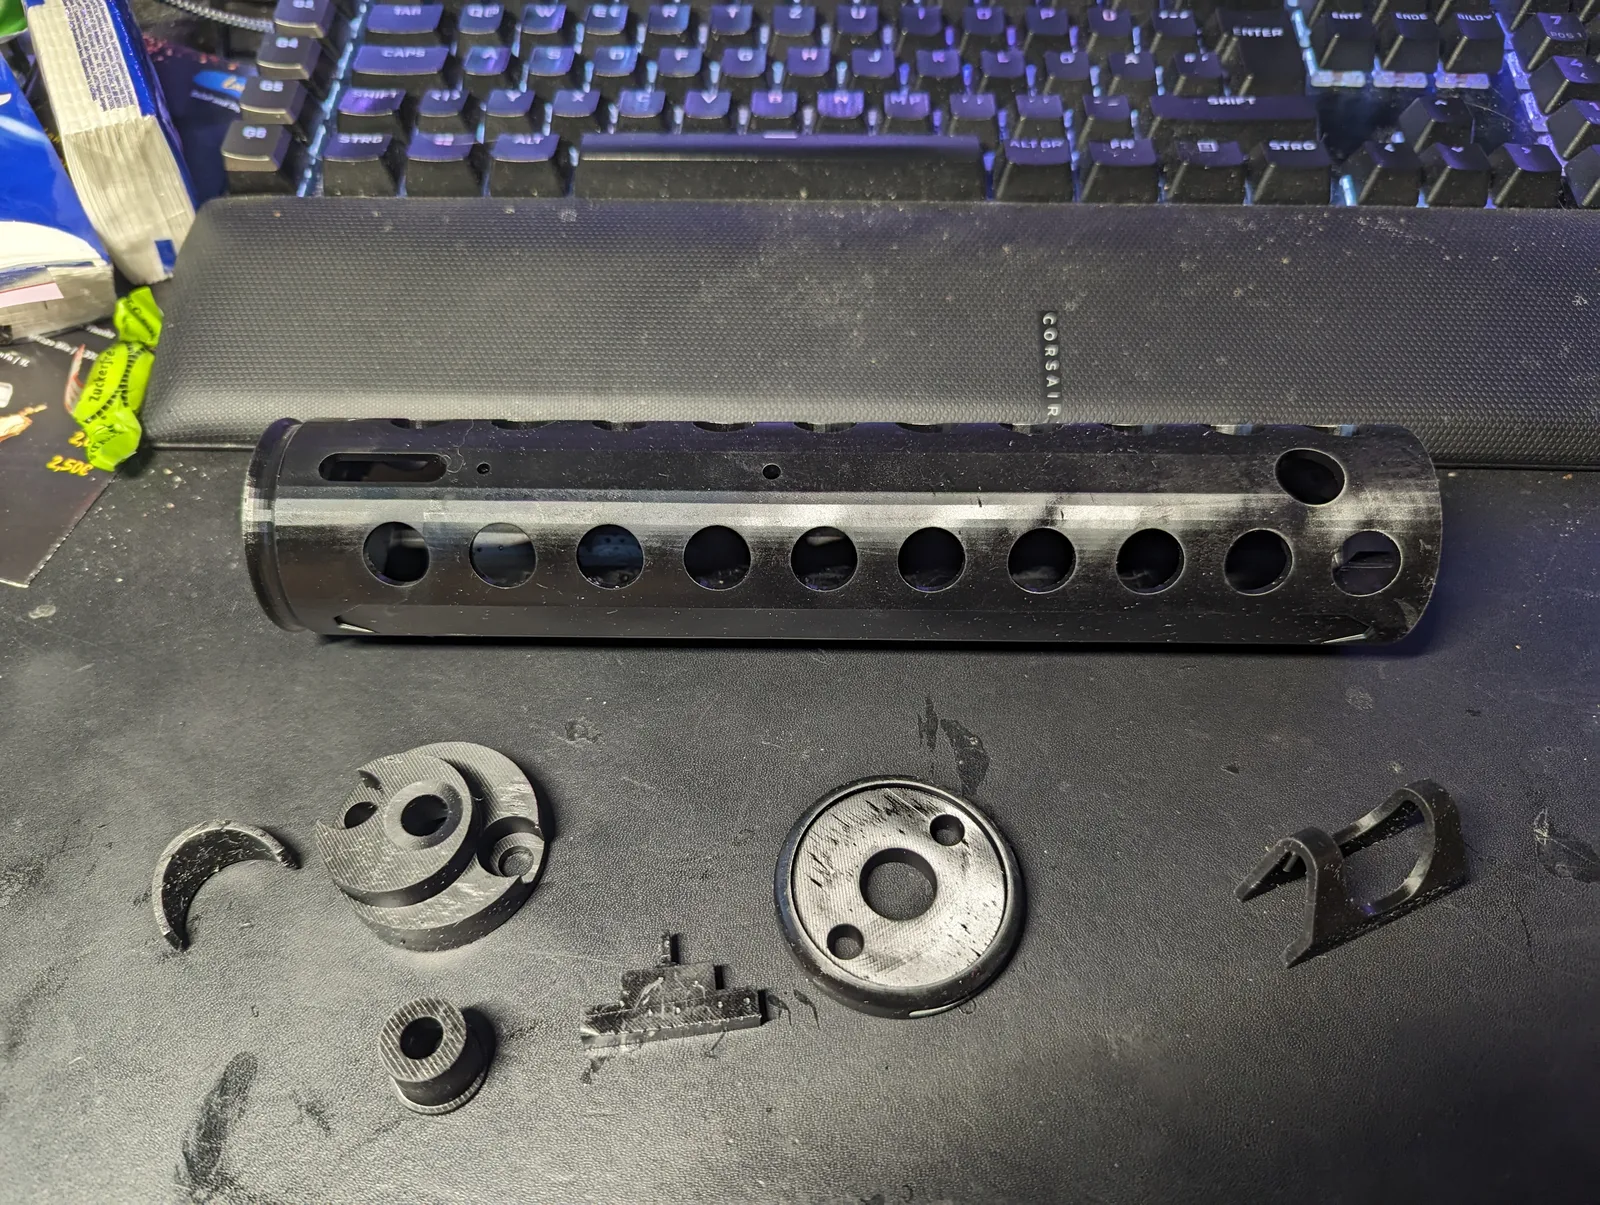
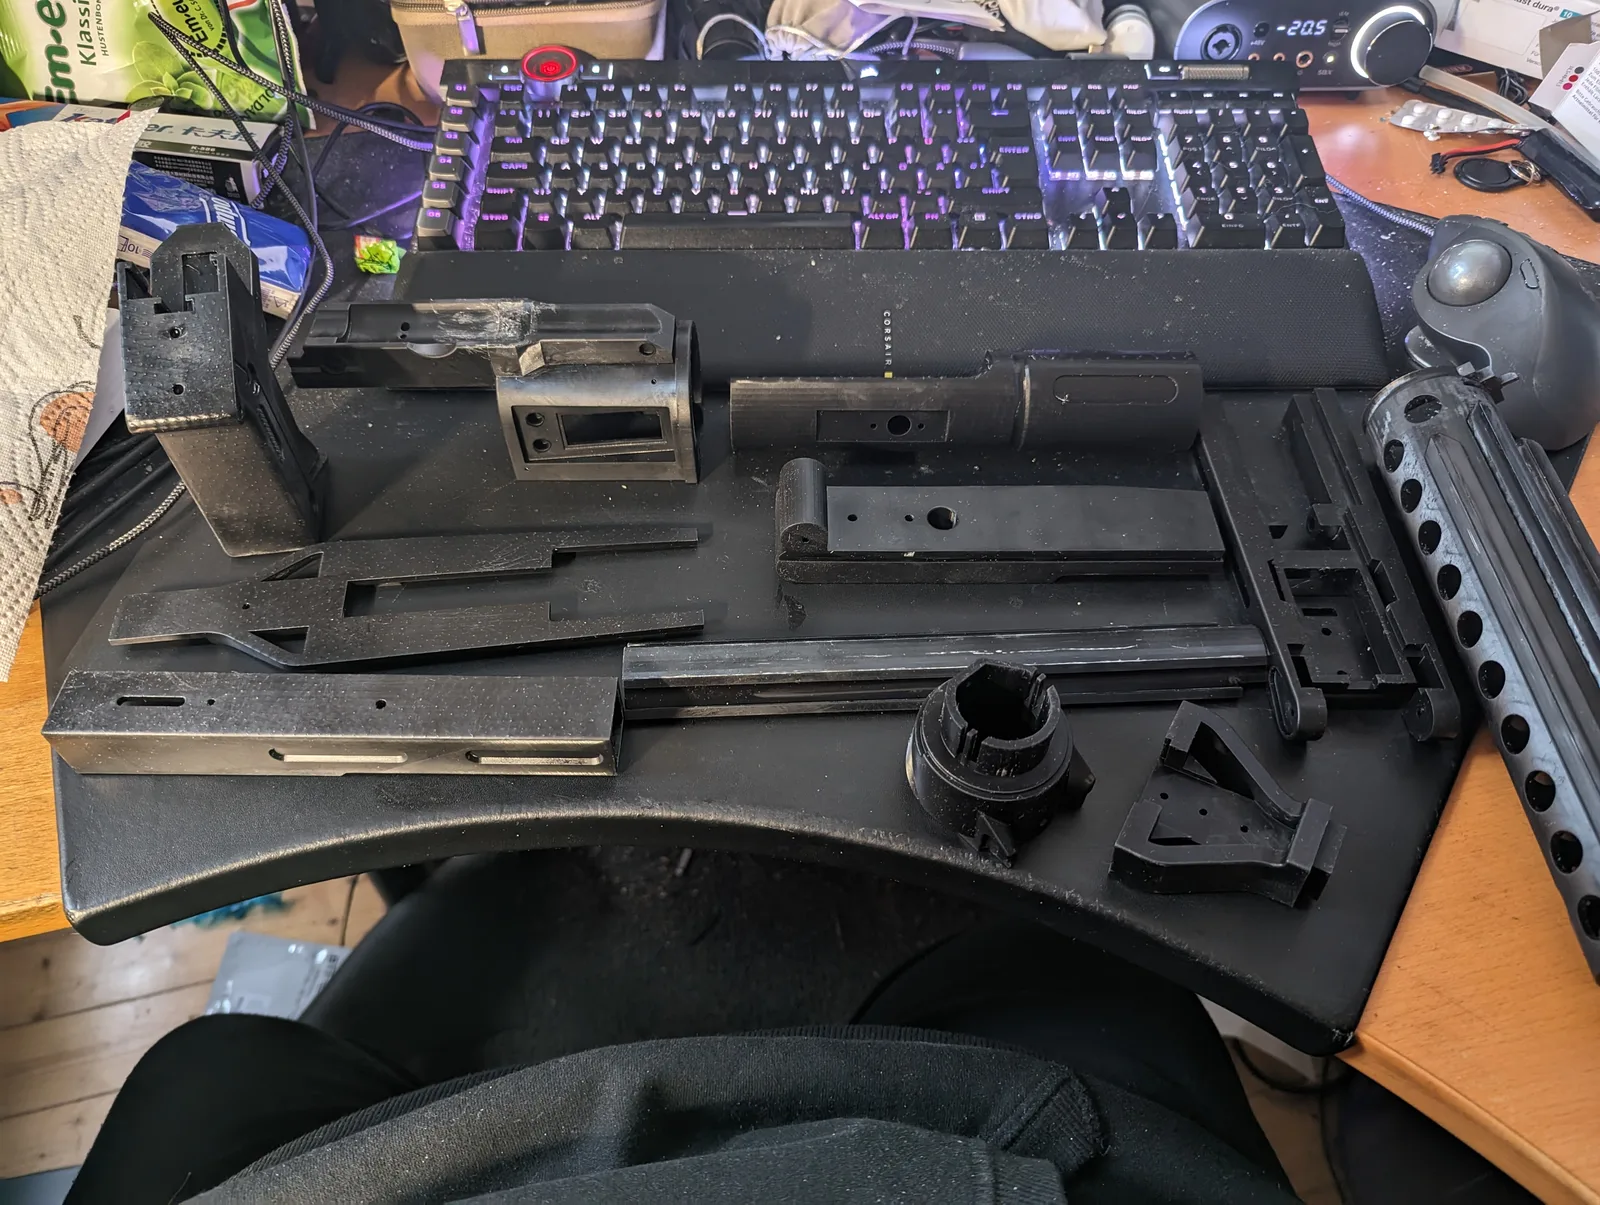
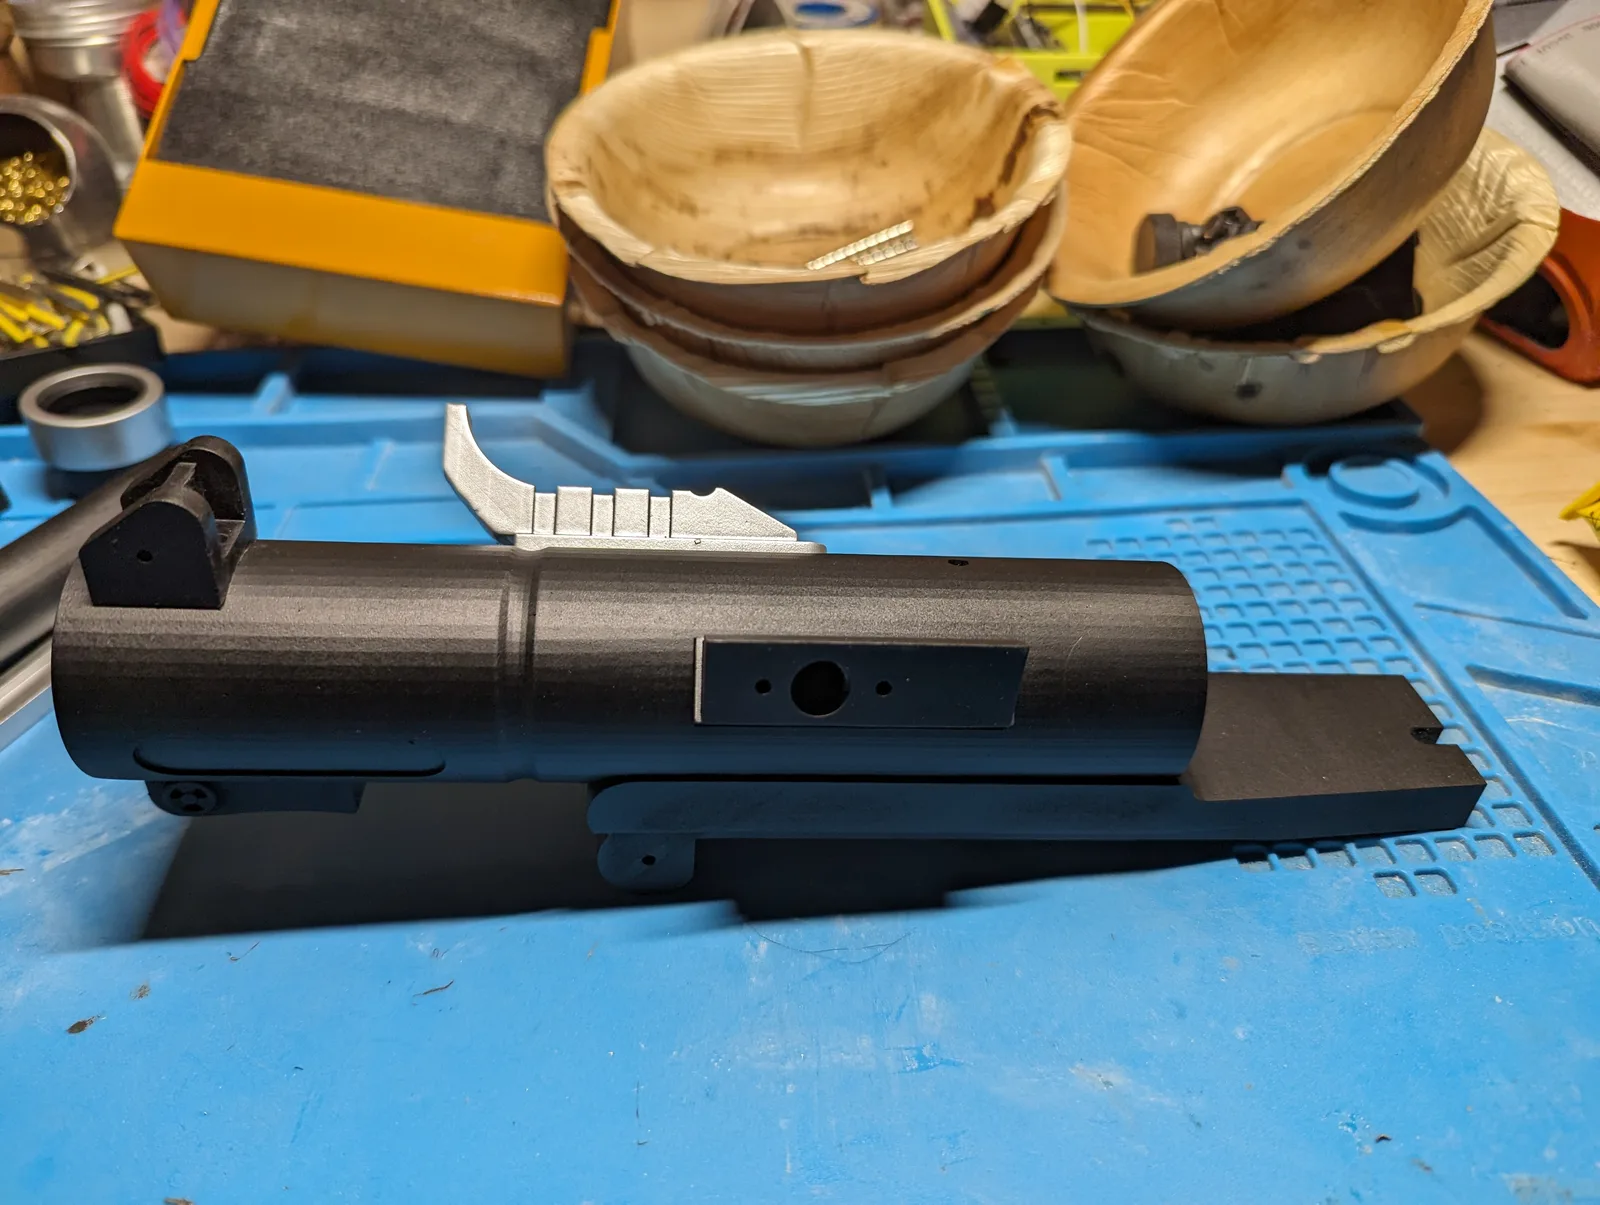
All parts were printed on an Anycubic M7 Pro resin printer rather than a filament machine. The choice was driven by the surface finish: the F-11D is covered in fine panel lines, vent slots and small greeblie detail that a resin process resolves without any post-processing to speak of.
The resin itself is white, so the light parts of the prop needed no colour at all and only the darker sections were sprayed. Finishing is done in Kong white and black over that white base.
Assembly uses a mixed fastener set from M6 down to M3, with the two M6 socket head screws carrying the muzzle-to-barrel joint and everything else on M4 and M3 button heads. The full mapping of each screw to its joint is in the parts list above.
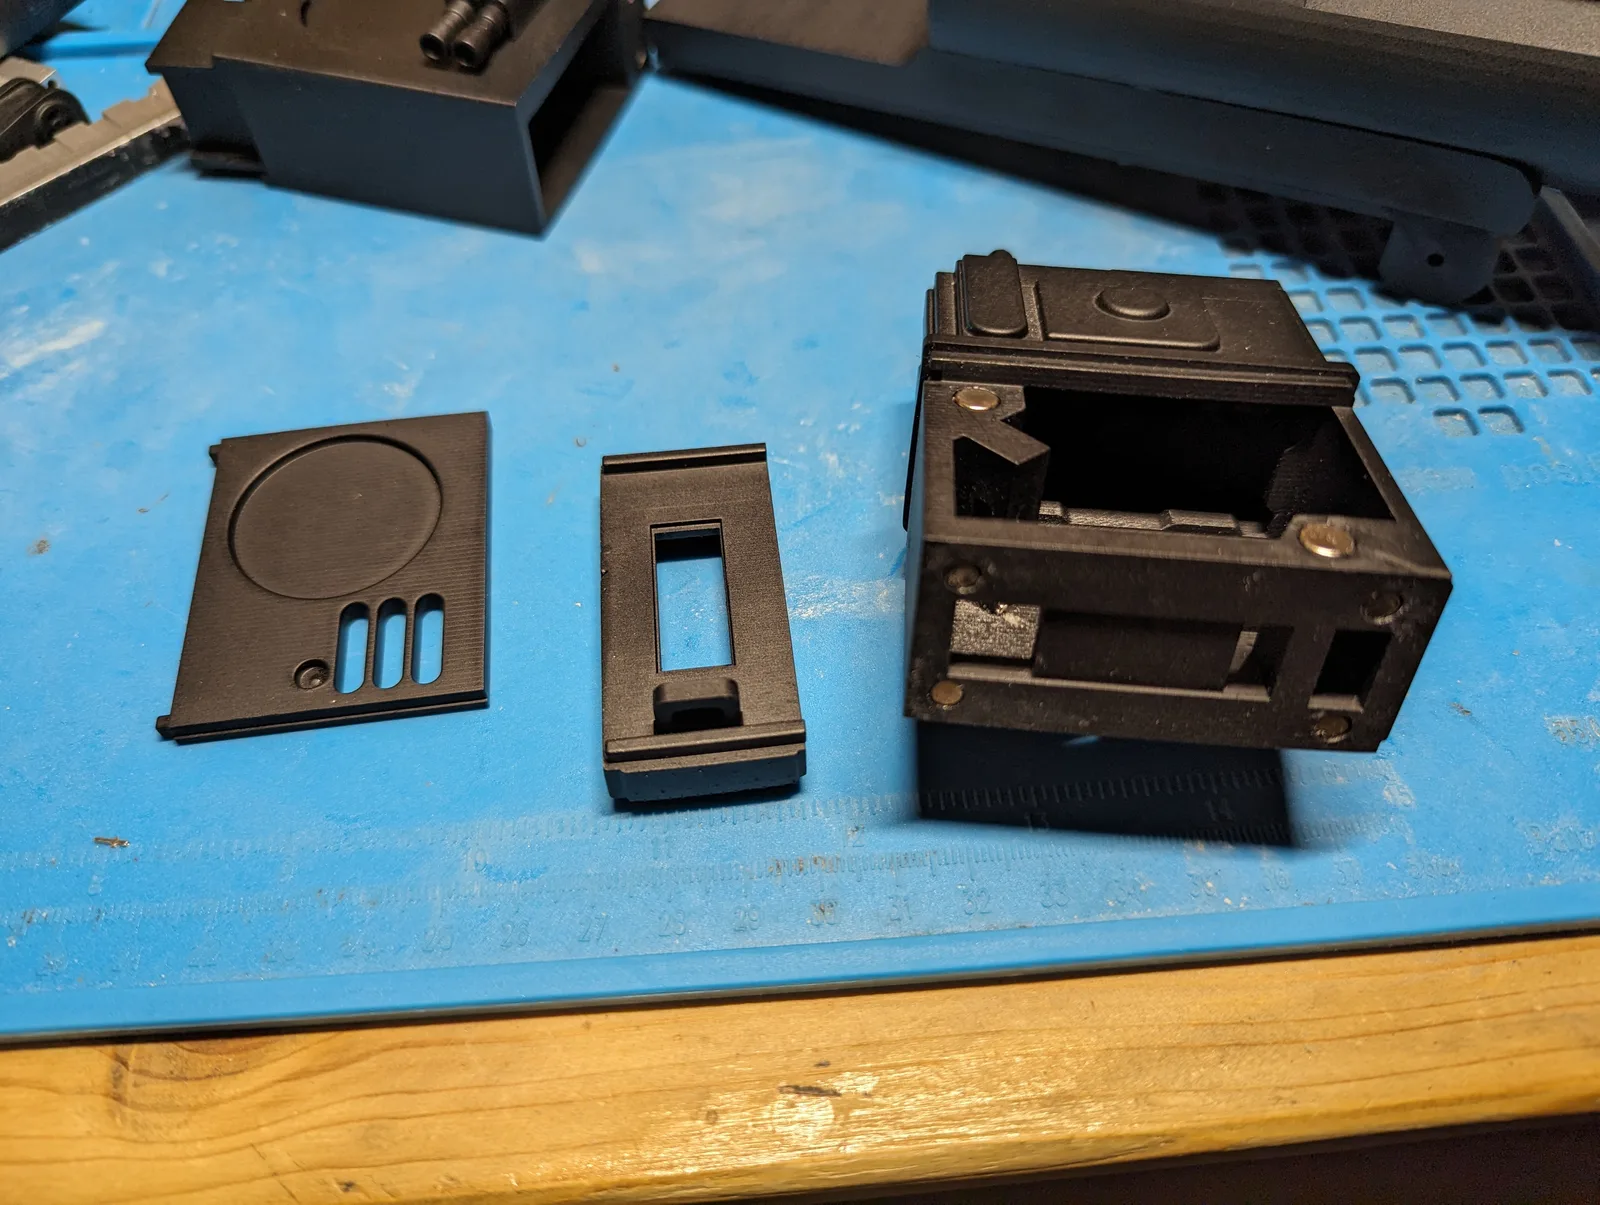
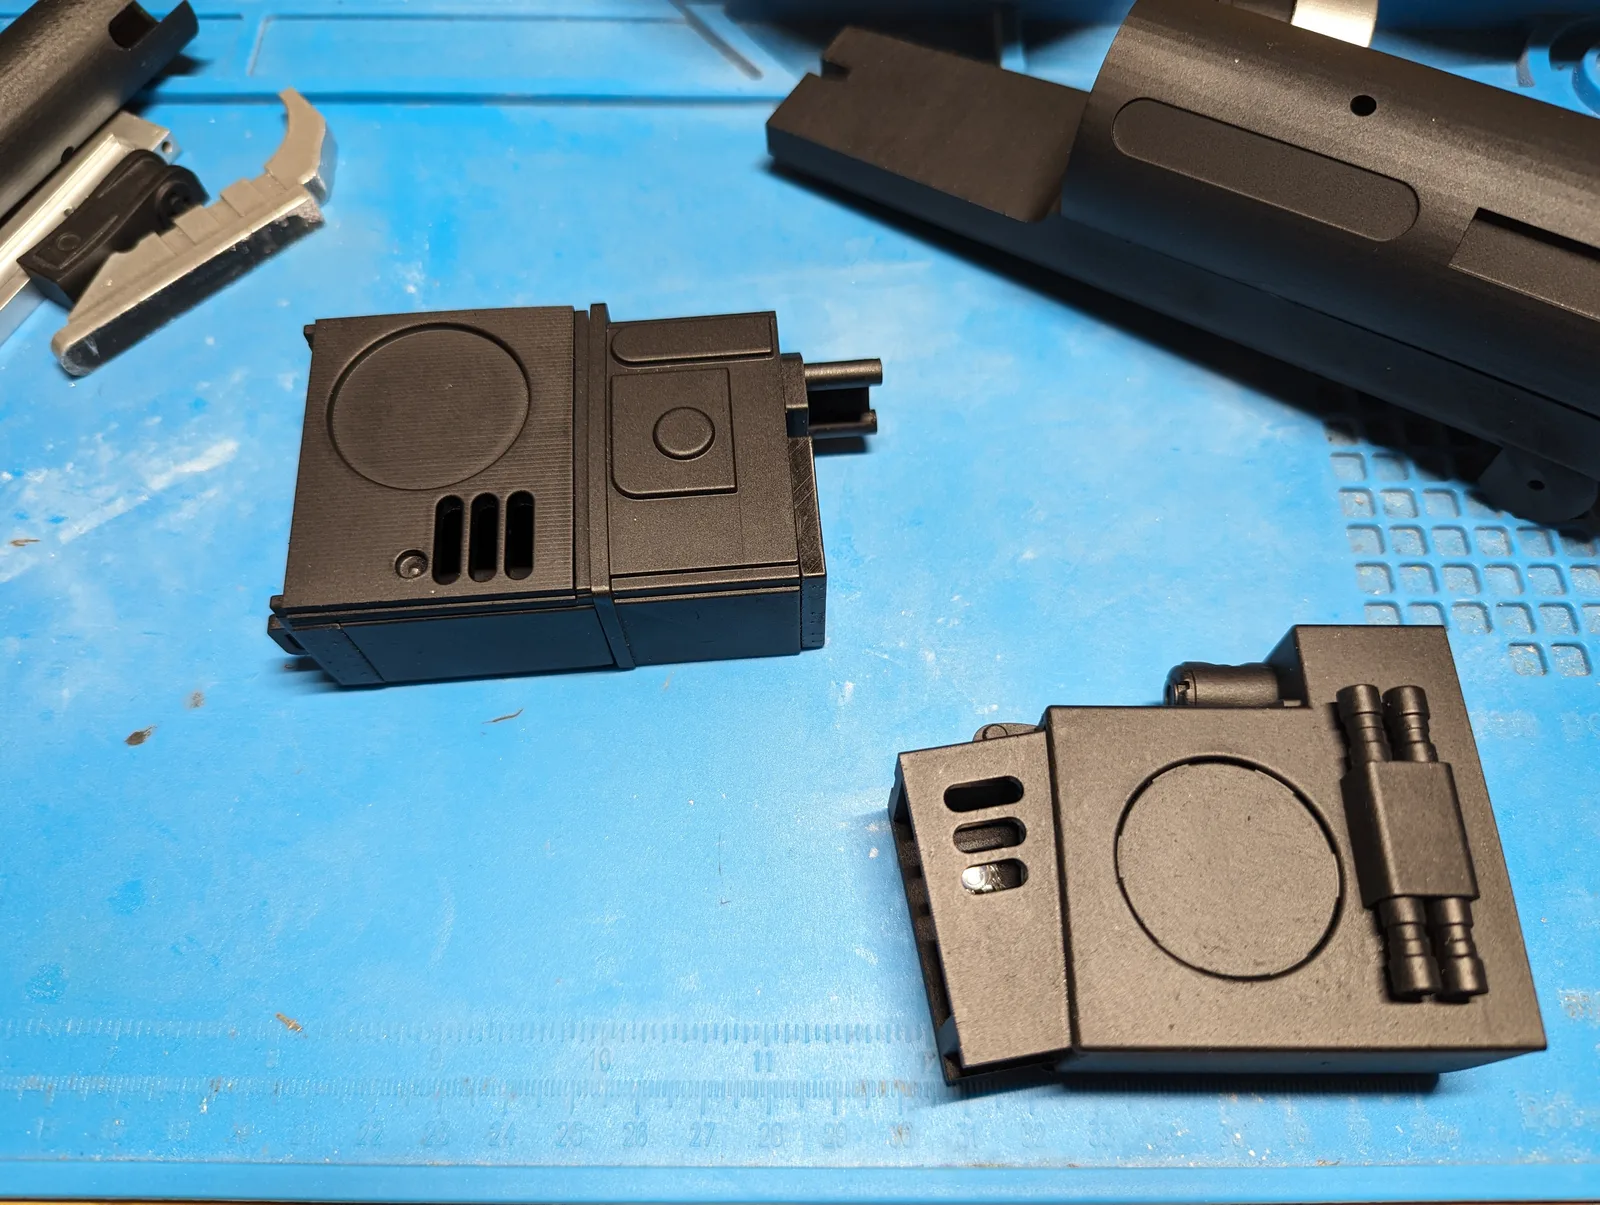
Two subassemblies use neodymium magnets instead of screws. The magazine attaches to the barrel hub on four 6 x 4 mm magnets, and the Hengstler counter closes on four 6 x 3 mm magnets in the lid plus eight 4 x 3 mm magnets holding the front plate. Magnets there mean the counter can be opened for battery access and service without a screwdriver, and without visible fasteners breaking up the surface.
The two lenses are glass cabochons rather than printed parts: 30 mm in the scope and 20 mm in the flashlight housing. Glass gives a depth and a specular highlight that clear resin does not match.
Software
The firmware runs on the Arduino platform. The blaster board reads the trigger, the weapon select button and the reload button in the Hengstler counter, drives the WS2812B strips and the muzzle LED, and triggers the matching sample on the DFPlayer Mini. The ammo count is shown on the 0.91 inch OLED behind the counter window and is reset by the reload button.
The scope runs separate firmware on the Beetle. Its two buttons change the display mode and switch the laser, so the scope has no logical dependency on the blaster firmware at all — only a shared power rail.
Lessons learned
Give the scope its own controller. Running the scope from the main board would have meant a multi-conductor cable through the rail mount and a firmware coupling between two parts that are physically separable. A second microcontroller and a 2-pin power lead removed both problems, and cost less in parts than the connector that the alternative would have needed.
Run the whole prop on one voltage. The board uses a 5 V Arduino Pro Mini specifically to avoid mixing 3.3 V and 5 V logic across the peripherals. That turned the power design into a single problem — bring the 18650 cell up to 5 V — instead of a level-matching question at every connector.
Use thin wire. Standard hook-up wire does not fit. With this many separate JST leads running through a narrow barrel and grip, conductor diameter decides whether the halves close, and it is not something that can be fixed at assembly time.
Steel screws, not aluminium. Aluminium button heads strip while being driven into printed parts, and once the socket rounds out the screw is very hard to get back out of a finished prop. Steel throughout avoided the problem.
Check the legal situation before designing the feature, not after. The flashlight and the laser sight were designed in, wired, and working before the question of German weapons law came up. Both had to come out again. Nothing about the electronics was wrong; the effort was simply spent on functions that could not stay in the finished prop.