Project overview
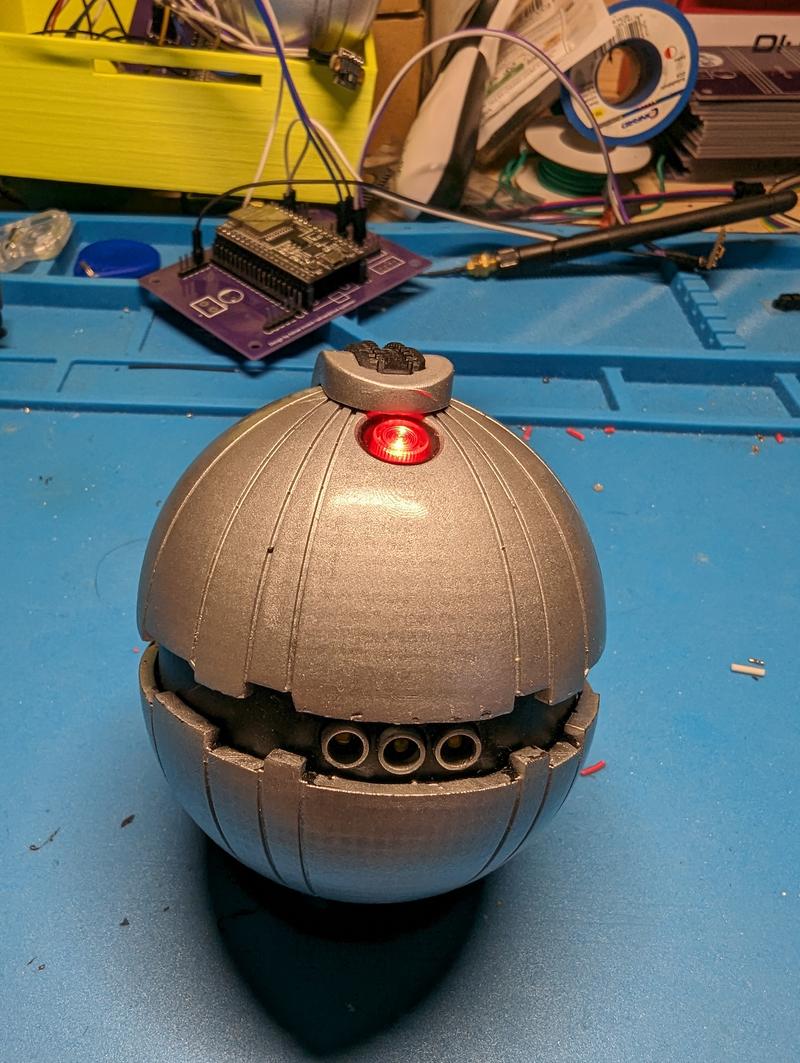
The Thermal Detonator is a resin-printed replica of the spherical detonator from the Star Wars films, built around purchased STL files with electronics and firmware developed from scratch. Sliding the switch on the upper hemisphere backwards arms the prop: the red top indicator lights, the sound sequence starts, and the three front LEDs blink in step with it until the sequence ends on a detonation sound.
The STL files come from Proptronix and are licensed by them. They are not part of this project and are not offered here — anyone building the same prop buys the files from the designer. What is published here is the electronics and the firmware. As with the F-11D, the vendor’s own electronics kit could not be ordered into the EU at the time of the build, which is why the electronics were developed independently.
The result is deliberately not a clone of the vendor kit. Only the plain detonator behaviour was implemented — one sound sequence ending in a detonation. The designer of the STL files offers further modes in their own kit, and reproducing those would have meant competing directly with the person whose files this prop is built from.
Everything created for this project — the board, the wiring and the firmware — is published under the PolyForm Noncommercial License. The project has no commercial background and is not for sale. Star Wars and all associated names and designs are the property of Lucasfilm and The Walt Disney Company; this is a fan-made prop and none of those elements are covered by the project licence.
Electronics and control
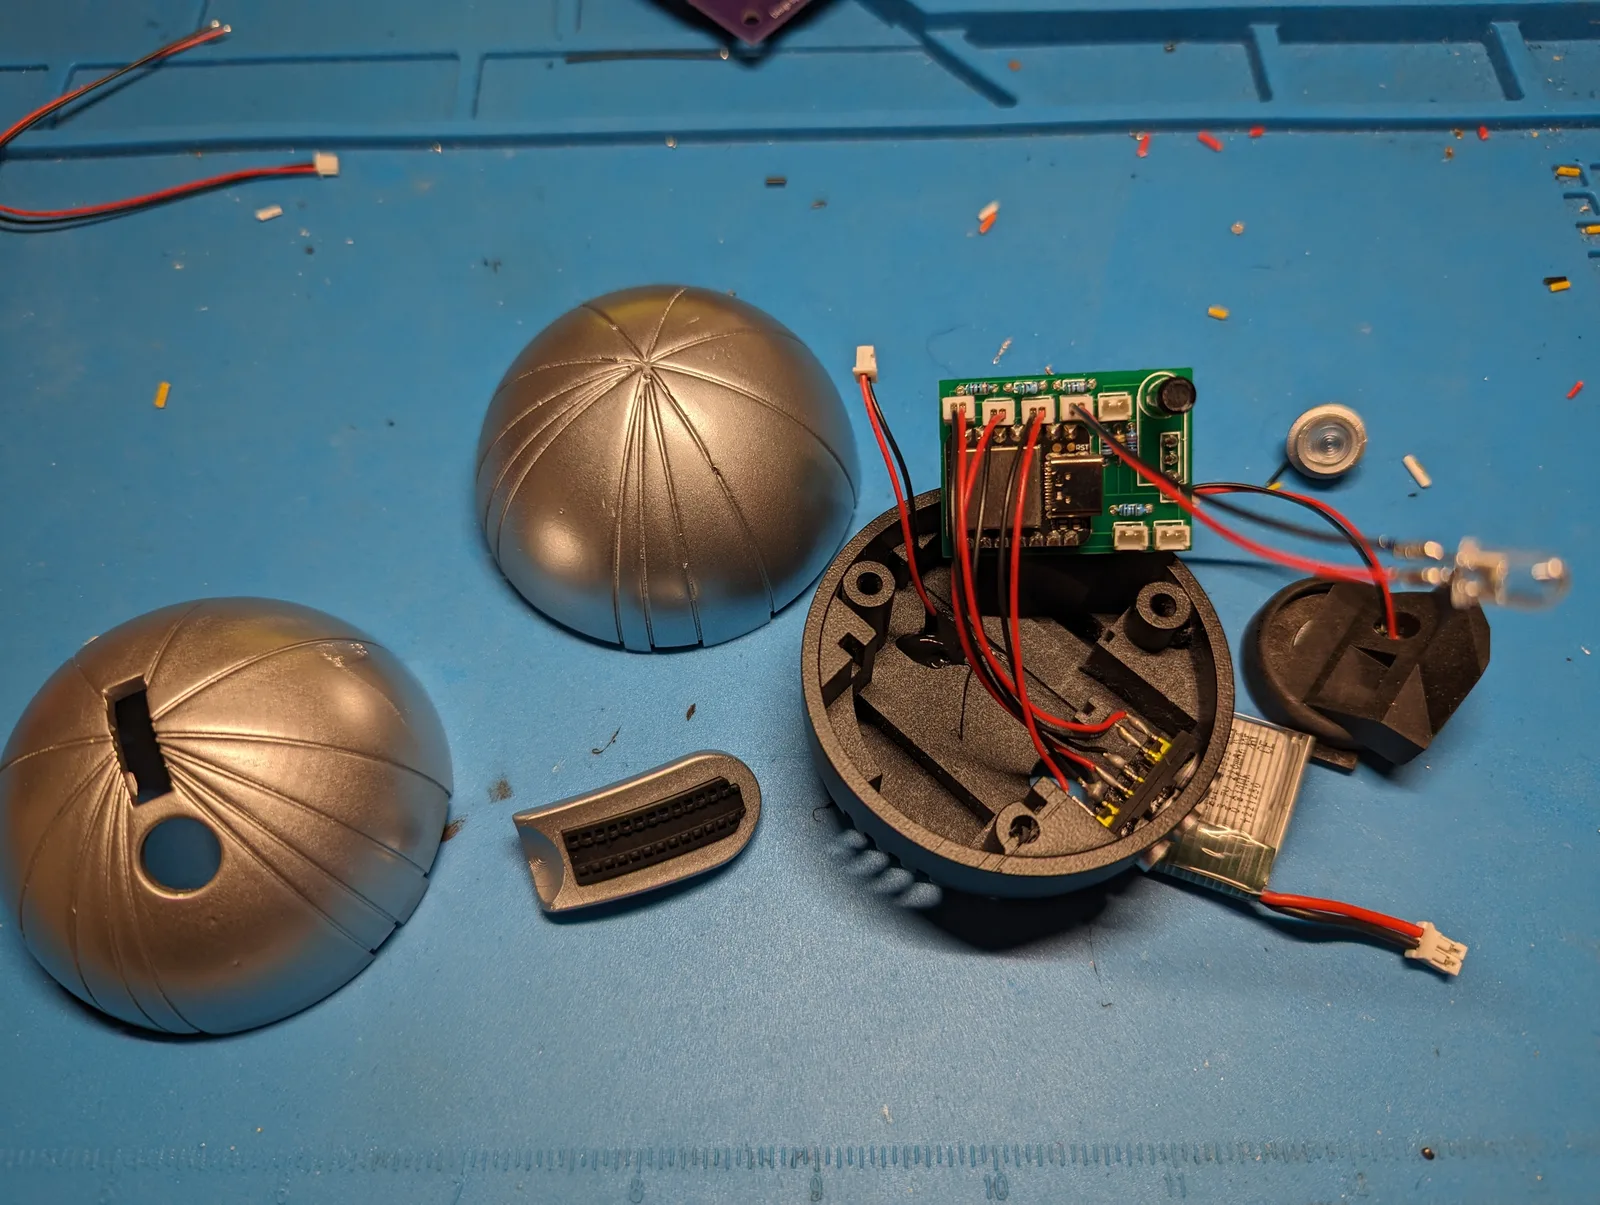
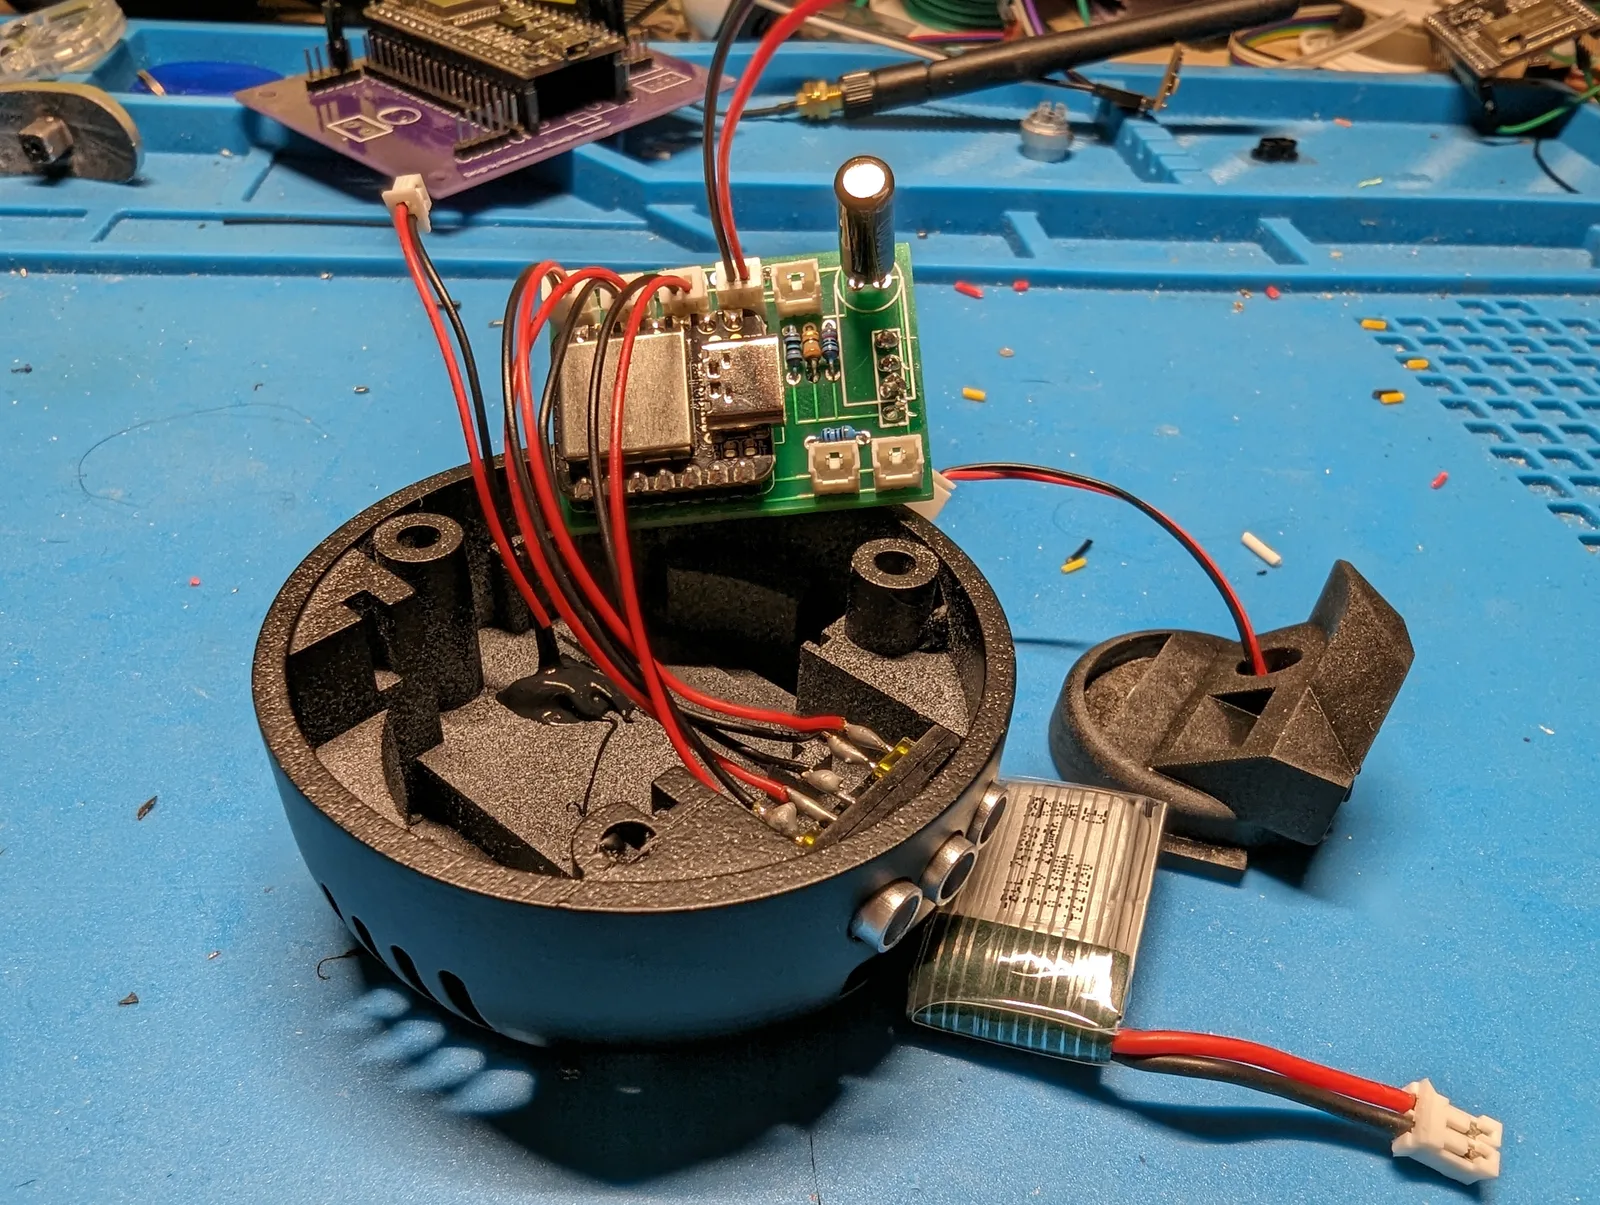
The board is built around a Seeeduino XIAO, chosen for footprint above anything else: the entire electronics package has to fit inside a sphere alongside a 28 mm speaker and a pouch cell. A DFPlayer Mini handles audio from a microSD card, so sound content can be changed by swapping files rather than reflashing firmware.
As on the other props, nothing is soldered directly to the board. Seven micro JST 1.25 mm sockets carry the four LEDs, the on/off switch, the auxiliary switch and the speaker, with the battery on a JST PH 2.0 mm socket. In a sphere this matters more than usual — the two hemispheres have to come apart for service, and connectorised leads mean that happens without a soldering iron.
Lighting is split between a single 5 mm red LED as the top indicator and three 2 mm yellow tower LEDs behind the front lenses. The tower package suits the deep recesses in the shell, where a standard LED would sit too far back to read.
An SW-200D tilt sensor sits alongside the arming switch. It lets the prop react to being picked up and moved, and restarts the sequence on movement rather than requiring the switch to be cycled.
The board also carries an auxiliary button, mounted under the red top indicator so that the lit lens can be pressed in. It is fitted because the printed shell is designed around it — the vendor kit uses it to select between additional modes — but this firmware leaves it unassigned. The hardware is there for anyone who wants to build on it.
Power comes from an internal lithium polymer pouch cell with a separate charger module, so the cell can be recharged without opening the sphere.
Mechanical construction
The shells were printed on an Anycubic M7 Pro resin printer. The detonator is almost entirely smooth curved surface broken by fine seam lines, which is the worst possible geometry for layer lines — a resin process avoids the sanding that a filament print of the same shape would need before it could take a metallic finish.
The interior of the base shell is printed with integral standoffs and ribs that locate the board, the speaker and the cell, so the electronics are positioned by the print itself rather than by glue or brackets.
The metallic finish is Montana Silverchrome, sprayed over the sanded shells and left unlacquered.
Software
The firmware runs on the Seeeduino XIAO. Arming through the lever switch starts a single timed sequence: the red indicator comes on, playback begins on the DFPlayer Mini, and the three front LEDs are blinked in step with the audio until the sequence closes on the detonation sound. Because the timing is driven from the firmware rather than read back from the player, the light pattern and the sound file have to be matched to each other. The tilt sensor can restart the sequence without touching the arming switch. There is no mode selection: the prop does one thing, and the auxiliary button is read by nothing.
Lessons learned
Chrome effect paint is a function of how far you sand. The finish keeps improving with grit — sanding the domes up to 12000 gives a noticeably stronger chrome effect than stopping earlier. The paint does not create the mirror; it only reproduces whatever surface is underneath it, so every step of sanding skipped shows up directly in the finish.
Do not clear coat an effect paint. Sealing Silverchrome with lacquer for protection measurably dulls the chrome. The finish has to be left bare and handled accordingly, which is a trade the prop has to live with rather than a problem with a fix.
Implementing fewer functions than the reference kit was a deliberate choice. The designer who sells the STL files also sells a kit with additional modes. Rebuilding those would have put this project in direct competition with the person whose work the prop is based on, so the firmware stops at the plain detonator sequence. It also kept the wiring inside a very tight sphere smaller than it would otherwise have been.